Barcelona
AGE:
10-11 years old
Lesson 1: Units of measure, tools and estimations
Aims:
- To revise all that the pupils already know about units of measure.
- To estimate the measurement of the boundary of the school.
- To devise strategies and tools to measure the school boundary.
- To measure the boundary of the school.
- To compare strategies and results.
Material:
Tape measures and
other measuring tools, calculators.
Vocabulary:
Length,
metres, kilometres, other arbitary units of measure.
Introduction:
The teacher
begins by asking the pupils about the units of measure they know (feet,
miles, metres, centimetres,....). A table is drawn on the blackboard explaining
the results of the discussion and to revise the abbreviations used for
the different units.The teacher asks the pupils to think about what they
think the school boundary measures. The answers given by the pupils are
recorded for future discussion.
Main
part:
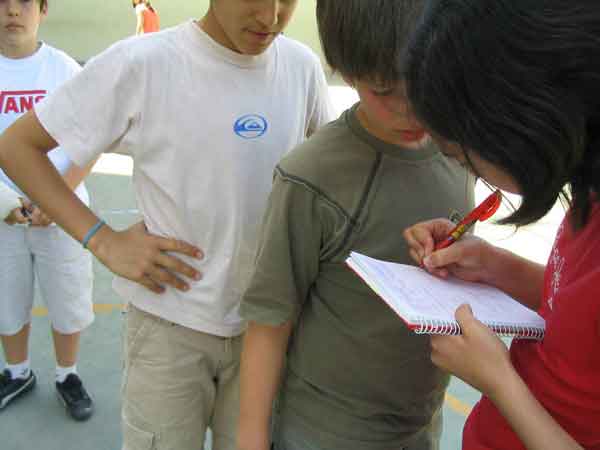
In
groups the pupils go out into the street and measure the boundary of the
school. Eac group uses the measuring tools they take with them. They write
down their results and then calculate their answers all together.
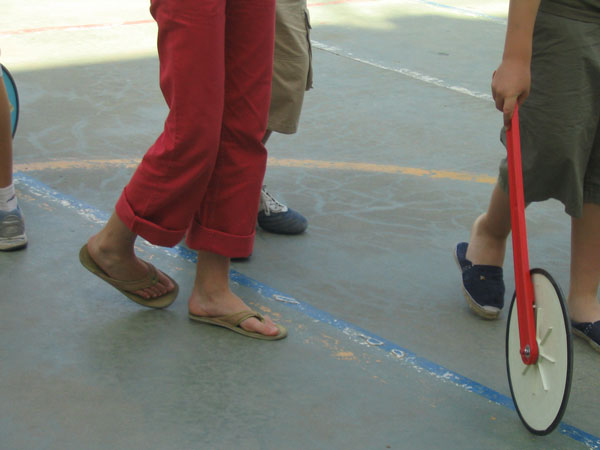
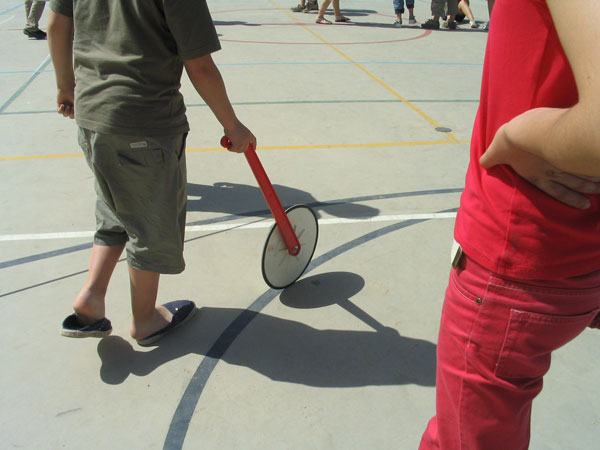
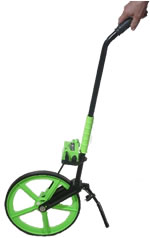
The results obtained are compared with the estimations discussed in class. A group of boys and girls use the measuring wheel to obtain the correct result.
Observations:
Fortunately
the school boundary is 200 m and this allows us to spend some time calculating
and matching units, for example: How many times do I have to run around
the school to run a kilometre?
Finally, the whole class discuss the activity, how well the groups have
worked, the organisation of the different tasks and the tools used for
measuring.
Lesson 2: Circles and circumferences
Aims:
- To measure the length of a circle.
- To discover the relationship between the diametre and the length of a circle: the number Pi.
- To learn how to record data: making summaries, drawings, tables.
- To meet the different elements of a circle.
- To draw circles with specific radii using the compass. To draw circles with the aid of a piece of cord.
- To solve problems relating to the topic.
Material:
Our feet, the measuring wheel, tape measures,
cord and compass.
Vocabulary:
Circle, circumference, radius, diametre,
centre, cord.
Introduction:
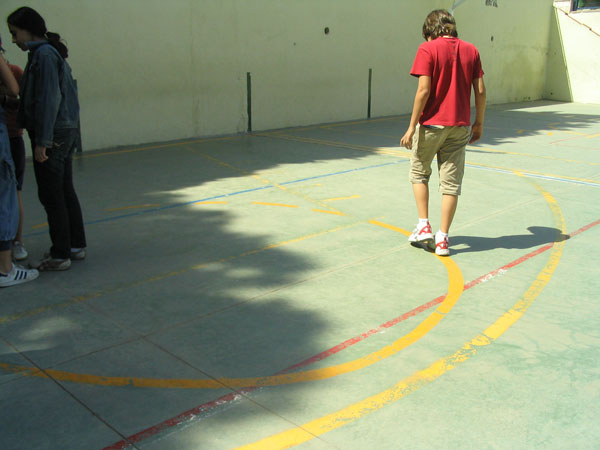
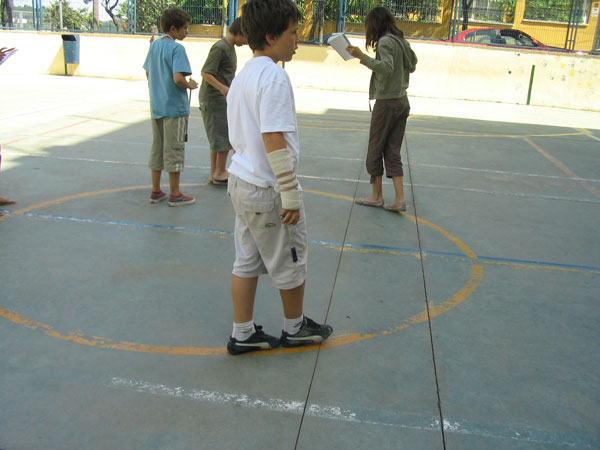
Using
different measuring tools the pupils go to the school playground and use
the circles painted on the basketball court to measure diametres and lengths
of circles. The results are written down. The measurements are made with
the help of the pupils' feet, hands and the measuring wheel.
Main
part:
Back in the classroom the pupils begin dividing the length by the diametre
of the different circles they have measured. The results are seen to approximate
to 3 (2,89. 3,2...). This number is given the name PI and it is decided
to give it a value of 3.14.
The students use the Internet to find out things about the decimal part
of Pi and what this number represents.
At this point the teacher introduces some historical facts about Pi.
Round
up :
To
end the class the pupils draw circumferences of different lengths having
been given values of radii or diametres. In history class the pupils discuss
Newton's circle.
Observations:
The
activity went well and we think it would be a good idea to practise using
the compass in art class as well.